Both the NVIDIA Shield TV Pro and the base model stand out as rare streaming devices that can run Plex Media Server natively. This makes them ideal for anyone interested in a Plex server setup Shield TV Pro configuration.
Top Reasons to Choose Shield TV for Plex Server
Built-in Plex Media Server support — no extra hardware or PC needed.
Dual USB ports for connecting external hard drives or SSDs.
Gigabit Ethernet ensures consistent and stable media streaming.
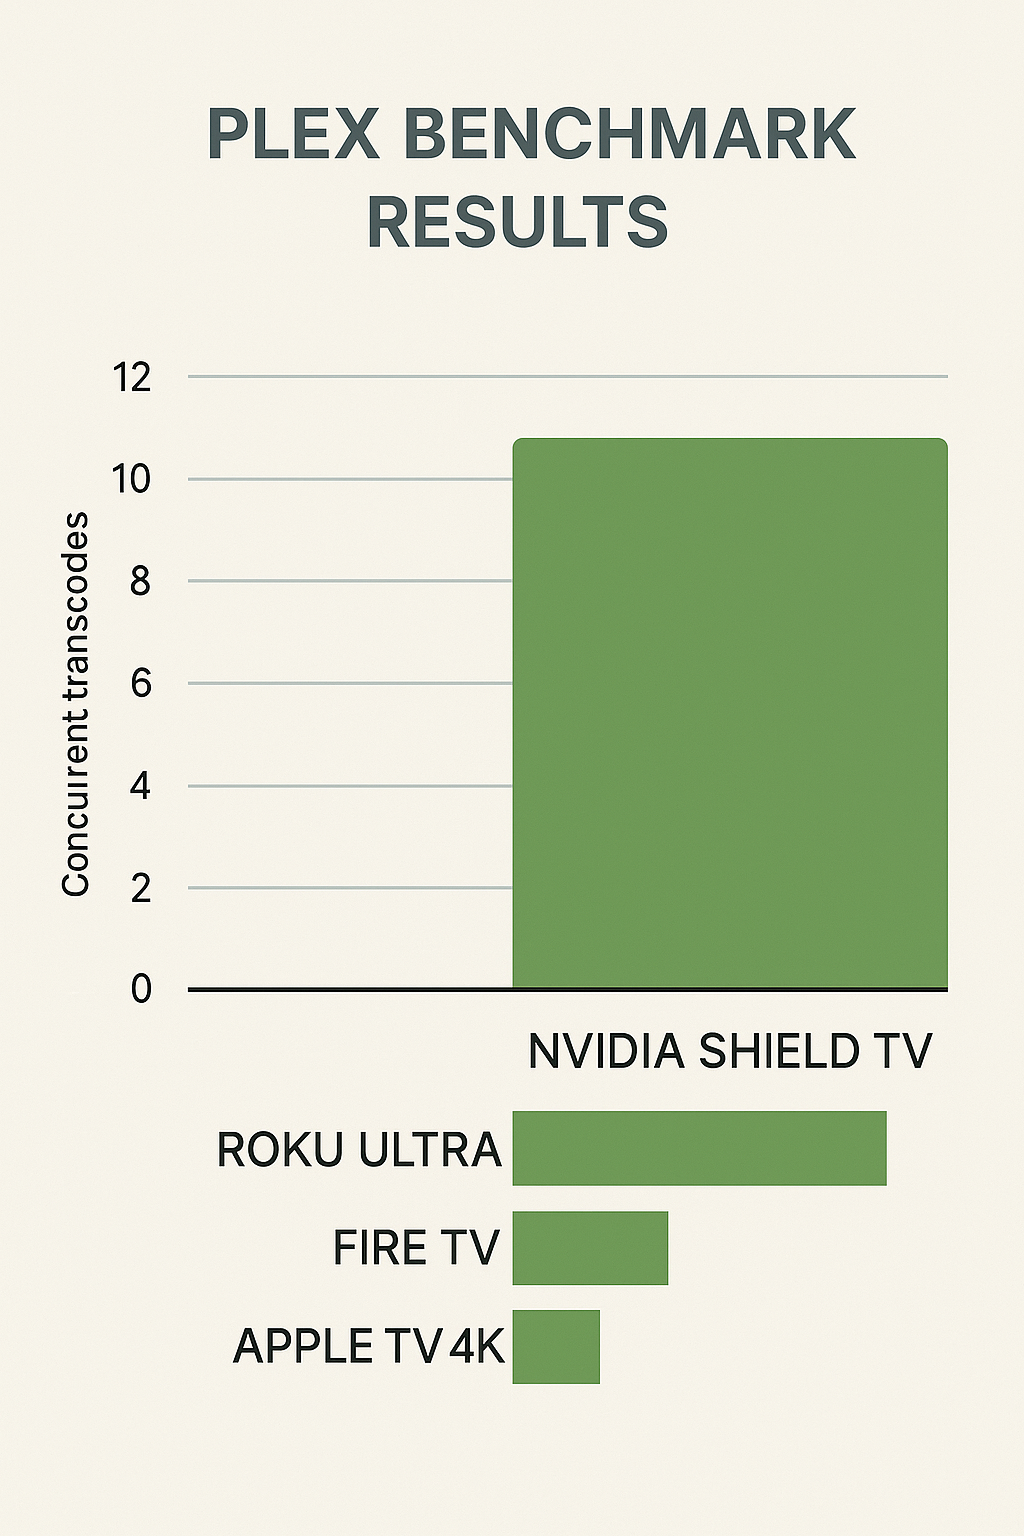
Hardware-accelerated transcoding handles demanding 4K and high-bitrate content with ease.
Android TV OS flexibility allows access to streaming apps, AI upscaling, and smart home integration.
 In short, the Plex server setup turns this small box into a powerful, all-in-one media hub for 2025.
Once you’ve prepared your hardware and network, it’s time to begin your Plex server setup Shield TV Pro process. Follow these steps carefully to ensure smooth installation and configuration.
 Install Plex Media Server
Open the Google Play Store on your Shield TV.
Search for “Plex Media Server” (not the Plex client app).
Download and install the server app directly onto your Shield.
 Format and Mount Storage
Plug your external hard drive or SSD into one of the Shield’s USB ports.
Go to Settings → Device Preferences → Storage.
If prompted, format the drive for use.
Choose “Adoptable Storage” if you plan to store apps or “Removable Storage” for media files only.
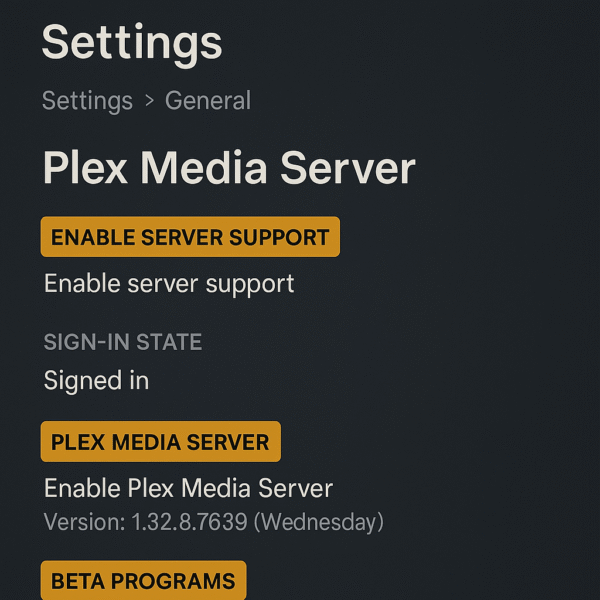
 Launch Plex Media Server
From the Shield TV home screen, open Plex Media Server (PMS).
Log in using your Plex account credentials.
When prompted, grant file system permissions to allow Plex to access your storage.
Tip: This step completes the core installation phase of your server setup, preparing your device to manage and stream your library seamlessly.

After installation, your Plex server setup Shield TV Pro needs properly organized libraries to manage your media effectively. These next steps connect your files and ensure Plex identifies everything correctly.
 Add Libraries
On your computer or laptop, open a browser.
Type http://[Shield IP]:32400/web to access the Plex Web App.
Click “Add Library” and select the desired category: Movies, TV Shows, Music, or Photos.
Choose the corresponding folders from your external drive or NAS.
Confirm and save to link the library with your Shield.
 Scan and Organize Media
Plex will automatically scan your selected folders and fetch metadata like cover art, cast, and descriptions.
For accurate results, ensure all file names follow Plex’s naming conventions, such as:
MovieName (Year).mp4ShowName/Season 01/EpisodeName S01E01.mkv
Once complete, your media will appear neatly organized in the Plex interface.
Tip: Proper folder structure and consistent naming are vital for smooth operation of your Plex server setup.
After adding your libraries, the next step in your Plex server setup Shield TV Pro is optimization. Proper tuning ensures smooth playback and efficient streaming across all devices.
 Enable Hardware Transcoding
On your Plex Web App, go to Settings → Server → Transcoder.
Toggle “Use hardware acceleration when available.”
This allows the Shield’s Tegra X1+ processor to handle demanding 4K or HEVC files efficiently.
 Adjust Streaming Quality
In Settings → Remote Access or Player, set Default Streaming Quality to 8 Mbps or higher for 4K content.
Enable Direct Play whenever possible to stream files without transcoding, reducing CPU load and latency.
Tip: These tweaks help your Plex server setup deliver crisp visuals and stable performance, even for large 4K libraries.
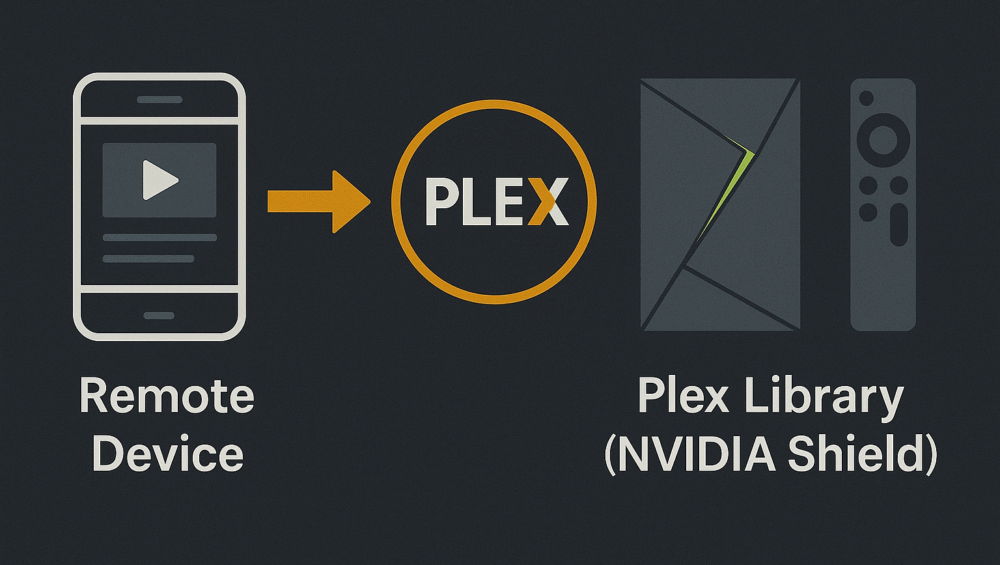
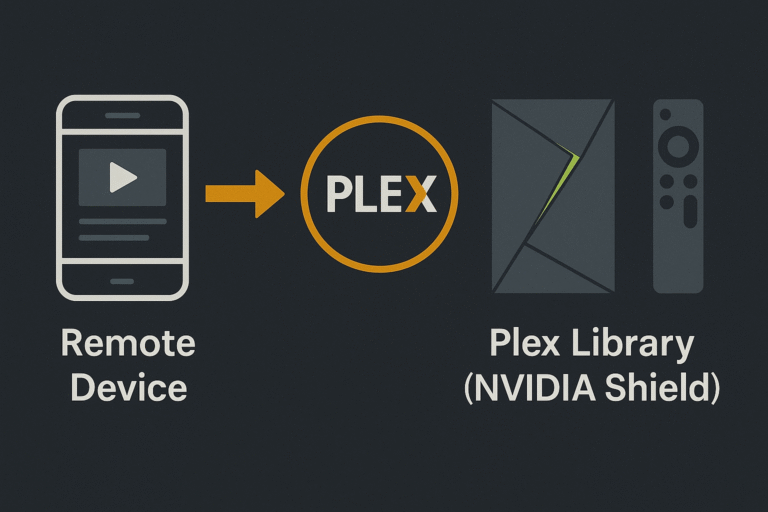
Once local playback is running smoothly, the next step in your Plex server setup is enabling remote access. This lets you enjoy your library from anywhere with an internet connection.
 Enable Remote Access
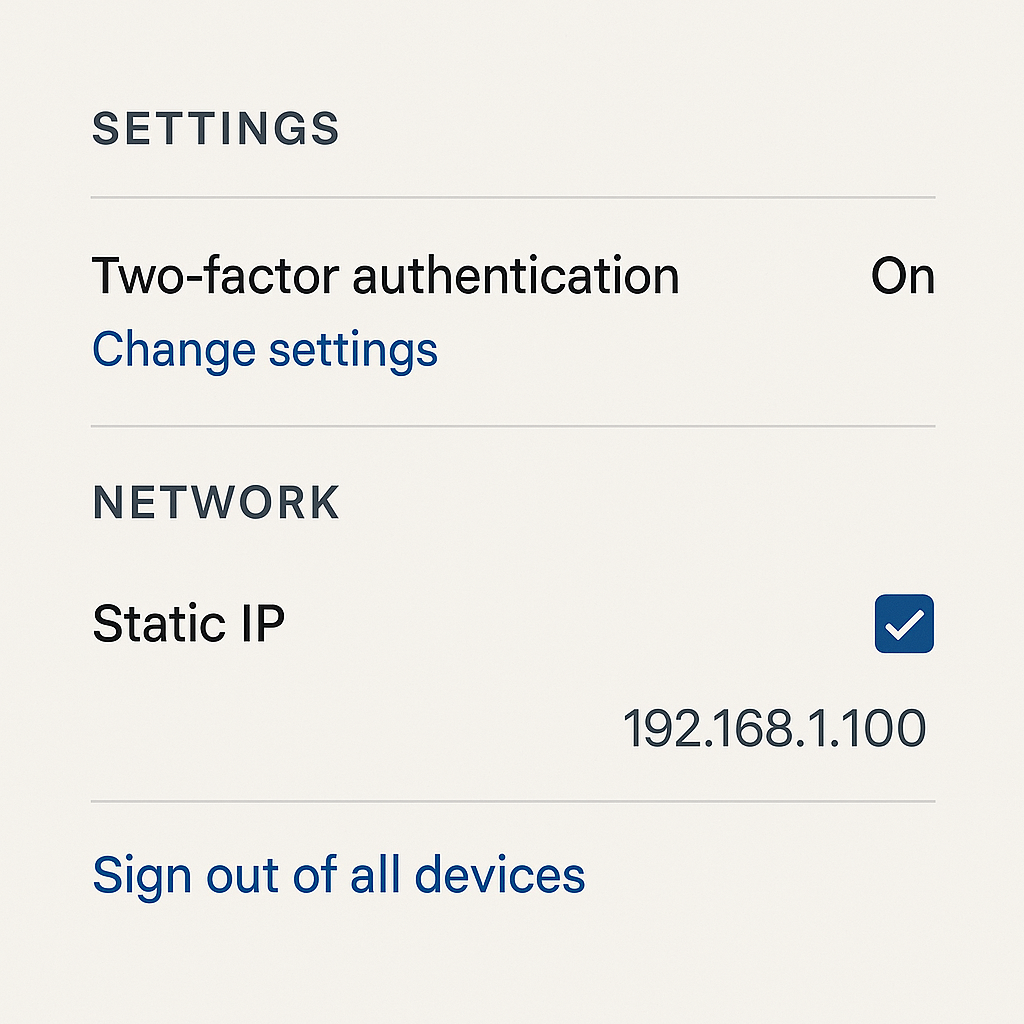
Open the Plex Web App on your browser.
Go to Settings → Server → Remote Access.
Click “Enable Remote Access.”
If required, allow port forwarding (TCP 32400) on your router for secure external connections.
Wait for the confirmation message: “Fully accessible outside your network.”
Tip: Remote access turns your Plex server setup Shield TV Pro into a personal Netflix — accessible worldwide on any device.
With remote access enabled, your server setup is now ready for streaming anywhere in the world. Whether you’re traveling or just away from home, your media stays with you.
 Stream Your Plex Content Anywhere
Log into your Plex account on any supported device — phone, tablet, laptop, or smart TV.
As long as your Shield TV remains powered and online, it functions as your active Plex server.
You can even share your media library with friends or family through Plex Home for collaborative streaming.
Tip: The Plex server setup Shield TV Pro makes your entertainment portable — offering seamless playback, smart syncing, and global access with zero extra hardware.
The Plex server setup Shield TV Pro offers everything you need for a powerful, energy-efficient home media hub. With its advanced hardware and seamless software integration, it delivers the best balance of performance, simplicity, and smart functionality.
Key Advantages
True 4K HDR playback with Dolby Vision and Dolby Atmos passthrough for cinematic audio-visual quality.
Seamless streaming powered by hardware-accelerated transcoding, ensuring smooth playback for any media file.
Energy-efficient and silent operation, making it an ideal alternative to bulky NAS servers.
Smart automation support with Google Assistant and Alexa for effortless voice control.
In 2025, this setup remains the gold standard — combining performance, stability, and smart integration into one compact device.
The NVIDIA Shield TV Pro stands out as the ultimate choice for a personal Plex Media Server in 2025. With this setup, users get buttery-smooth streaming, advanced file management, and effortless automation in one compact device.
 Whether you’re streaming in your living room or halfway across the world, the Shield + Plex combo guarantees local control, premium quality, and smart home integration — all without needing a bulky NAS or PC.
In short, the Plex server setup Shield TV Pro turns your media collection into a powerful, accessible, and future-ready entertainment hub.