This step-by-step guide shows how to transform small rooms into immersive gaming spaces using a budget-friendly projector gaming cave setup. With the right planning, you can create a cinematic atmosphere that feels both exciting and cozy. From start to finish, the process focuses on smart choices like affordable projectors, blackout curtains, and effective cable management. Finally, by adding smart lighting and ambient effects, your projector gaming cave setup will deliver a truly engaging experience without breaking the bank.
Why Create a Gaming Cave with a Projector?
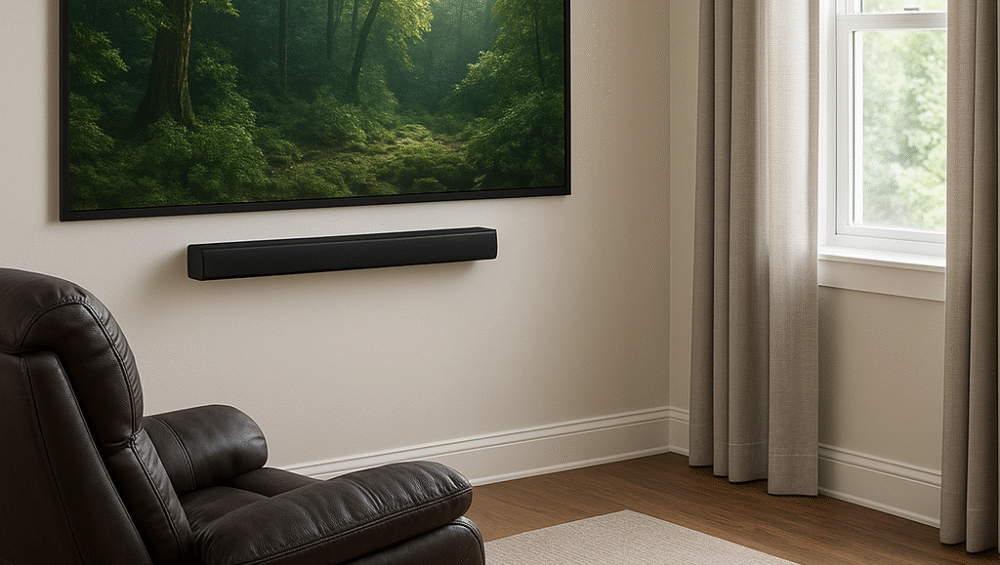
A projector gaming cave setup is more than just a room — it’s a personalized sanctuary for gamers. By combining a high-quality projector, smart lighting, immersive sound, and comfortable furniture, you can transform even small spaces into next-level gaming zones that feel both cinematic and cozy.
Projector Benefits in Small Gaming Spaces:
Huge Screen Experience: Enjoy a massive display without needing a bulky TV.
Flexible Mounting Options: Easily mount on a wall or ceiling to save space and enhance viewing angles.
Immersive Atmosphere: Create a theater-like feel in low light, perfect for long gaming sessions.
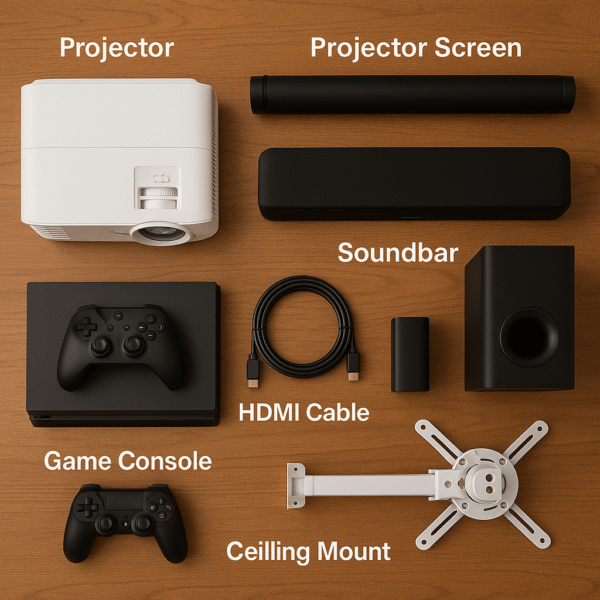
What You Need to Get Started
Here’s a core checklist to help you build your ultimate projector gaming cave setup, even in a compact room. By combining the right gear and accessories, you can achieve a cinematic and immersive gaming experience without overspending.
Essential Items for a Cave Setup:
Projector: Optoma HD146X or ViewSonic PX701HD for bright, responsive gameplay.
Projector Screen: Choose a pull-down or fixed frame screen for clean visuals.
Gaming Console: Compatible with PS5, Xbox Series X, or your preferred platform.
Soundbar: Look for one with HDMI ARC for synchronized, lag-free audio.
Gaming Chair / Recliner: Adds comfort for long gaming sessions.
Smart Bulbs / LED Strips: Create dynamic lighting effects that match game scenes.
Blackout Curtains: Block out ambient light for optimal projection quality.
Cable Organizers: Keep wires neat and hidden, maintaining a clean setup aesthetic.
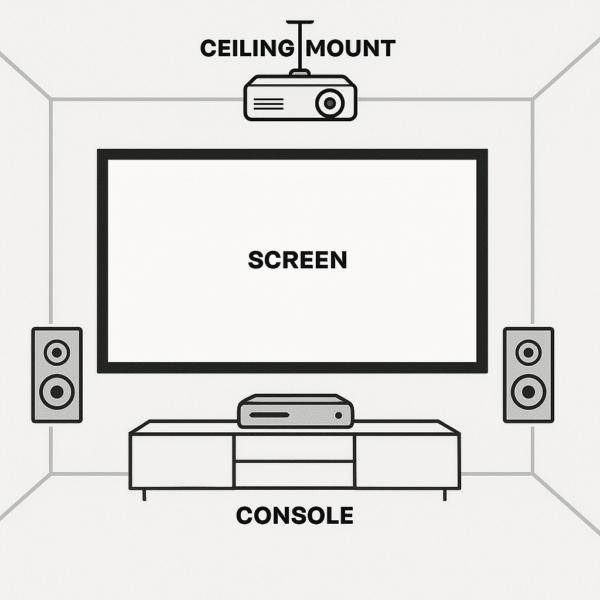
Optimizing Screen Placement
To optimize your projector gaming cave setup, proper placement is key for achieving the best visuals and comfort. By following these simple guidelines, you’ll ensure a perfectly balanced image and an immersive gaming experience.
Placement Tips for a Projector Gaming Cave Setup:
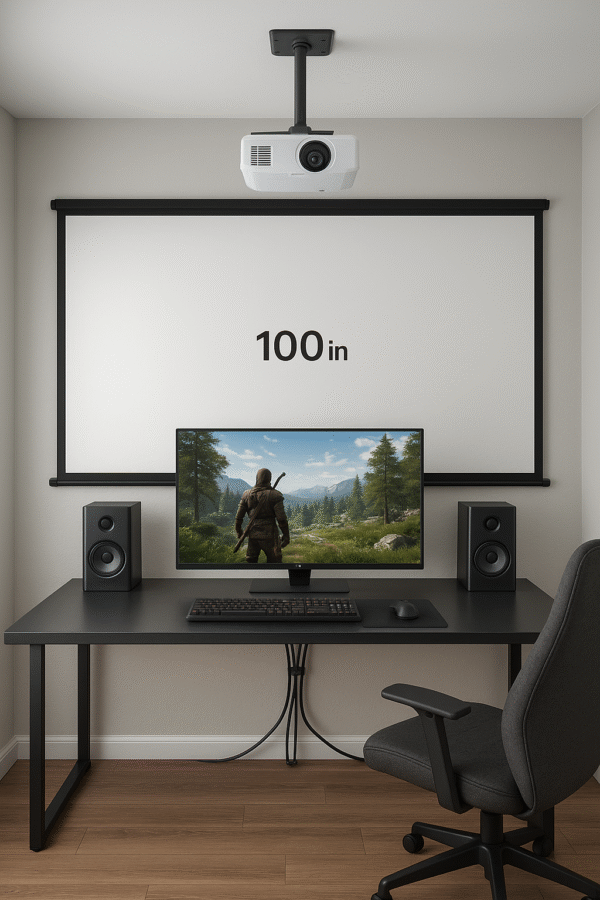
Use the Longest Wall: Choose the longest wall in your room for projection to maximize screen size.
Maintain Throw Distance: Keep at least 8–10 feet between the projector and the screen for sharp, distortion-free images.
Screen Height: Mount the screen 30–36 inches from the floor for an ideal viewing angle while seated.
Ceiling Mount the Projector: Install the projector on the ceiling to save space and achieve better alignment and stability.
Audio Tips for Gaming Caves
To complete your projector gaming cave setup, sound placement is just as important as visuals. With the right audio layout, you can create a more immersive, theater-like experience that complements your projector’s performance.
Audio Setup Tips for a Projector Gaming Cave Setup:
Soundbar or Speakers: Position your soundbar or speakers directly below the screen for centered, balanced sound.
Subwoofer Placement: Place the subwoofer near a wall corner to boost low-frequency impact and room-filling bass.
Acoustic Treatment: Add acoustic foam panels if you live in an apartment to reduce echo and noise bleed.
Dolby Atmos Support: Whenever possible, choose a Dolby Atmos–enabled soundbar for immersive, multi-dimensional audio during gaming and movies.
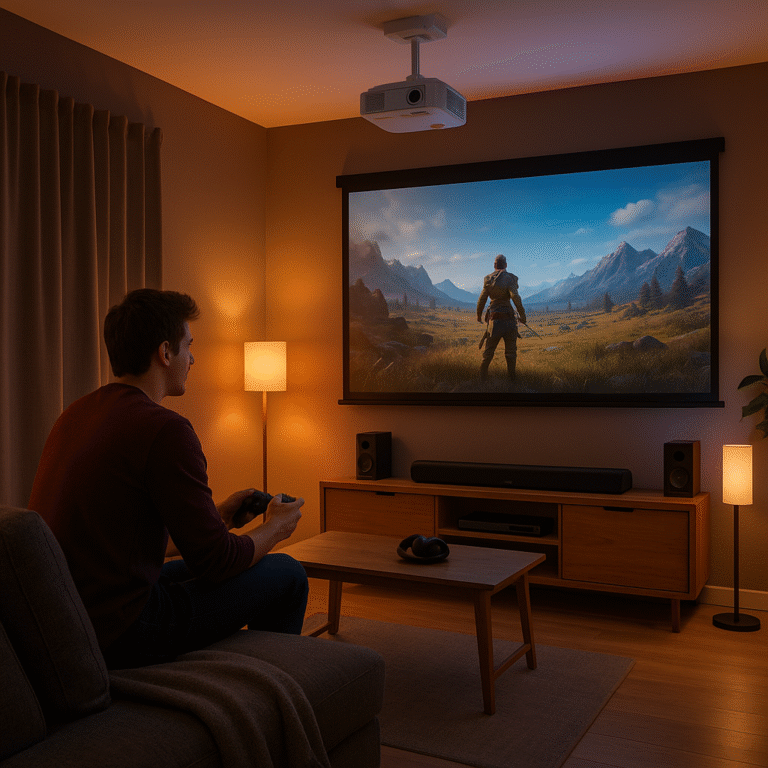
Smart Lighting for Gaming Immersion
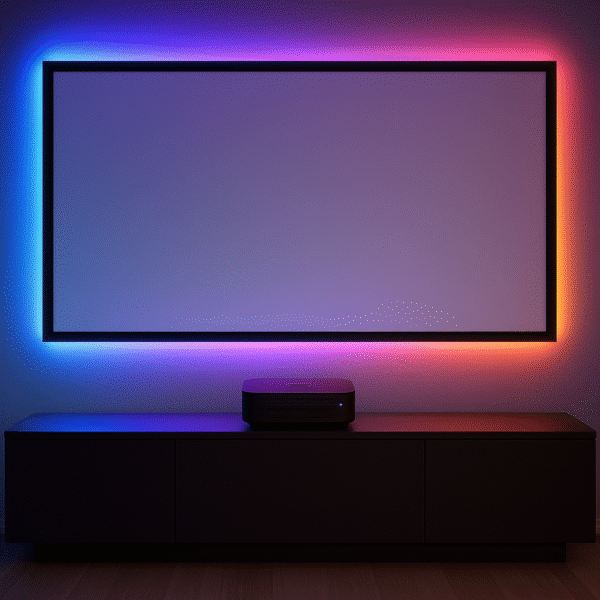
Smart lighting plays a major role in elevating your projector gaming cave setup, turning ordinary sessions into fully immersive experiences. By syncing lights and creating themed routines, you can match the atmosphere to your gameplay or mood.
Smart Lighting Tips for a Projector Gaming Cave Setup:
Sync Lights with Gameplay: Use compatible apps or devices to make your lights react to in-game action, color shifts, and explosions.
Create Custom Routines: Set up Alexa Routines such as “Game Mode” for focused lighting or “Victory Scene” for celebratory effects.
Add Light Strips: Install Govee or Philips Hue LED strips around your screen or behind furniture to add depth and ambient glow.
Cable Management & Storage
A clean and organized layout enhances both the look and functionality of your projector gaming cave setup. By managing cables effectively, you’ll keep your space clutter-free while protecting your gear from tangles and wear.
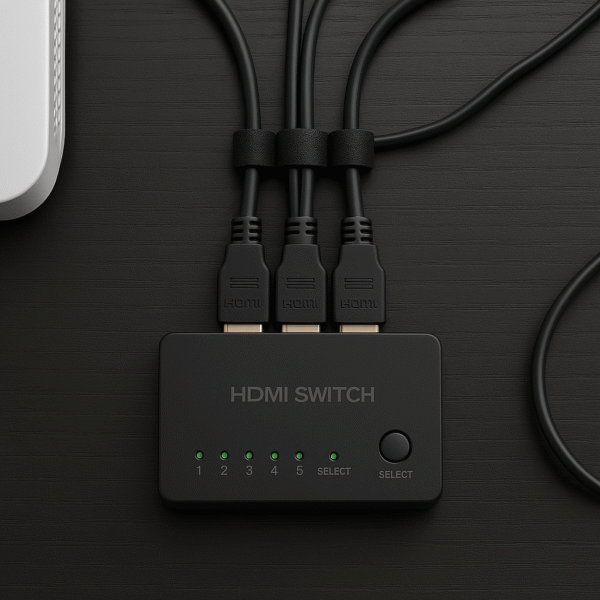
Cable Management Tips for a Projector Gaming Cave Setup:
Route HDMI Cables: Run your HDMI through the wall or use cable raceways to maintain a sleek, professional appearance.
Secure with Velcro Ties: Bundle cords neatly using Velcro cable ties for easy adjustments and reorganization.
Hide Power Strips: Mount power strips under your desk or entertainment stand to free up floor space and keep everything tidy.
Furniture Tips for Projector-Based Gaming
Comfort and visibility are essential for the perfect projector gaming cave setup. By choosing the right furniture and light control, you can make even a small room feel like a premium gaming theater.
Furniture & Comfort Tips for a Projector Gaming Cave Setup:
Choose the Right Seating: Pick a low-seated recliner or ergonomic gaming chair to align perfectly with your screen height.
Use Compact Shelving: Opt for compact shelves or wall-mounted stands to neatly store consoles, controllers, and accessories.
Install Blackout Curtains: Add blackout curtains to eliminate glare and enhance screen visibility, especially during daytime gaming.

DIY Enhancements
To make your projector gaming cave setup both functional and personalized, consider adding a few thoughtful upgrades. These small additions can enhance comfort, acoustics, and convenience—creating a space that’s truly your own.
Upgrade Ideas for a Projector Gaming Cave Setup:
Projector Shelf or Ceiling Mount: Use a dedicated projector shelf or create DIY ceiling brackets for better positioning and stability.
Custom Acoustic Panels: Build acoustic panels using foam and fabric to reduce echo and improve sound quality.
Mini Fridge Addition: Add a mini fridge nearby to keep drinks and snacks within easy reach during long gaming sessions.
Final Thoughts
Building an impressive projector gaming cave setup doesn’t require a massive budget. With careful planning and smart purchases, you can design a premium gaming and entertainment space that feels high-end without overspending.
Start with a $600 projector such as the Optoma HD146X, pair it with a $300 soundbar, and add a few strategic accessories like blackout curtains, LED lighting, and cable organizers. By combining immersive visuals, responsive lighting, and strong audio, you’ll create a customized projector gaming cave setup perfect for gaming, movies, and streaming—all while staying within budget.