When you wall mount Sonos Arc Dolby Atmos, you can not only improve your room’s visual aesthetics but also unlock a more immersive sound experience. However, since the Sonos Arc relies on upfiring speakers to deliver realistic height effects, improper placement can reduce audio clarity and weaken spatial immersion.
Therefore, this guide provides step-by-step tips for mounting the Arc correctly to optimize height channel performance, sound dispersion, and overall room acoustics.
Tools & Accessories Needed
Before you wall mount Sonos Arc Dolby Atmos, you should gather the proper tools and accessories to ensure both secure installation and optimal performance:
Sonos Arc soundbar – the centerpiece of your setup.
Official Sonos Wall Mount Kit (or VESA-compatible bracket) – ensures proper alignment.
Stud finder – to securely anchor into wall studs.
Level and measuring tape – for accurate placement and spacing.
Power drill with drywall anchors – for stability on various wall types.
Optional cable cover or in-wall routing kit – to keep wiring hidden and clean.

Wall Mount Sonos Arc Dolby Atmos – Recommended Height
When you wall mount Sonos Arc Dolby Atmos, proper placement is critical for preserving height effects and spatial accuracy.
Ideal distance from bottom of TV: Maintain about 2–4 inches of clearance.
Arc height from floor: Position the soundbar roughly 42–48 inches above the ground.
Why This Matters: The Sonos Arc’s upfiring speakers must have clear vertical paths to bounce sound off the ceiling. If you mount it too high, you risk disrupting the height cue illusion that makes Dolby Atmos so immersive.

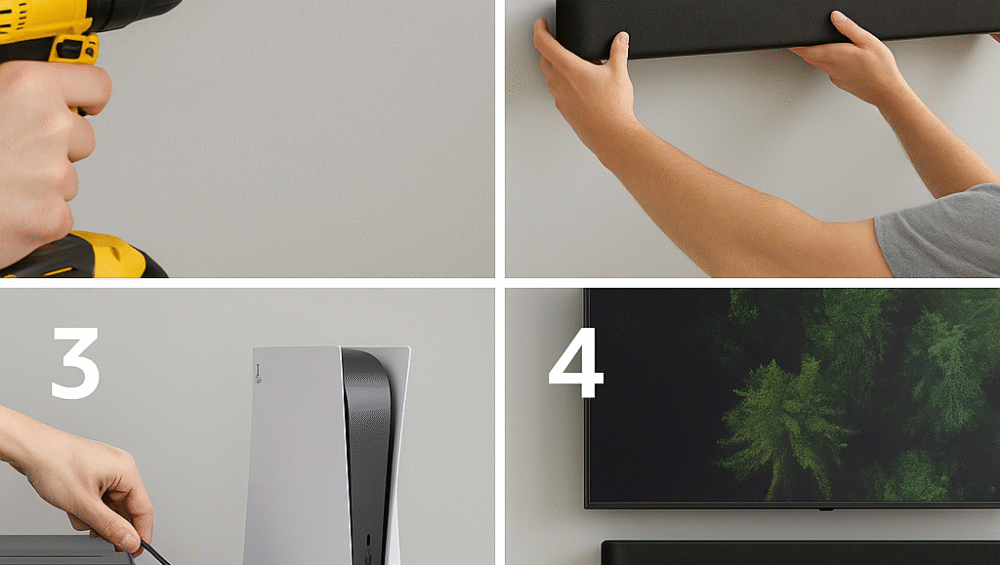
Sonos Arc Dolby Atmos – Step-by-Step Installation
To properly wall mount , follow these essential steps for both stability and optimal sound performance:
Find Wall Studs – First, use a stud finder to locate secure anchor points for mounting.
Align and Mark Drill Points – Next, ensure the soundbar is level and symmetrical. Because the Arc’s design is sleek, even slight misalignment becomes noticeable.
Drill and Install Brackets – Then, drill into marked spots and attach the mounting bracket using either included screws or wall anchors.
Mount the Sonos Arc – After that, slide the Arc securely onto the bracket and gently test its stability.
Cable Management – Finally, route the HDMI eARC and power cables through wall plates, covers, or in-wall kits for a clean finish.

Final Optimization Tips
After you wall mount Sonos Arc Dolby Atmos, you should fine-tune the setup to maximize clarity and immersive effects:
Run Trueplay Tuning (iOS only): This recalibrates the Arc’s output to account for wall reflections and room behavior.
Turn Off TV Speakers: Doing so prevents echoing and ensures that only the Arc delivers sound.
Adjust TV’s eARC Settings: Configure your TV for optimal sync and Dolby Atmos pass-through to unlock the Arc’s full potential.

Wall vs Tabletop Setup
When deciding whether to wall mount Sonos Arc Dolby Atmos or place it on a tabletop, consider the following factors:
| Factor | Wall-Mounted | Tabletop Setup |
|---|---|---|
| Atmos Performance | ✅ Delivers better height effects with clear ceiling reflections | ❌ May block upfiring path if TV stand is too close |
| Space Efficiency | ✅ Frees up console space for a cleaner look | ❌ Takes up shelf depth and reduces surface space |
| Vibration Management | ✅ No surface resonance, minimizing buzz | ❌ Prone to vibrations and surface noise |

Wall Mount Sonos Arc Dolby Atmos – Best Practices
To get the most from your setup when you wall mount, follow these important guidelines:
Avoid mounting under open shelving – because obstructions can block the upfiring drivers and reduce Atmos effects.
Ceiling height between 7–10 ft – ensures the best reflection paths for accurate height channel performance.
Use ARC/eARC HDMI input on your TV – since optical connections do not support Dolby Atmos pass-through.