This comprehensive guide shows you how to create a budget gaming projector setup that delivers impressive visuals and immersive sound without overspending. By focusing on affordable models like the Optoma HD146X, you can enjoy a cinematic gaming experience at a fraction of the cost of large TVs. Additionally, this guide covers optimal room placement, connectivity tips, screen recommendations, and sound optimization, all tailored to help console gamers build a low-cost, high-impact setup that looks and feels premium.
Why Choose a Budget Projector Setup for Gaming?
A budget gaming projector setup offers massive entertainment value without breaking the bank. With the right components, you can enjoy immersive, big-screen gameplay even in small spaces.
Key Benefits of a Budget Gaming Projector Setup:
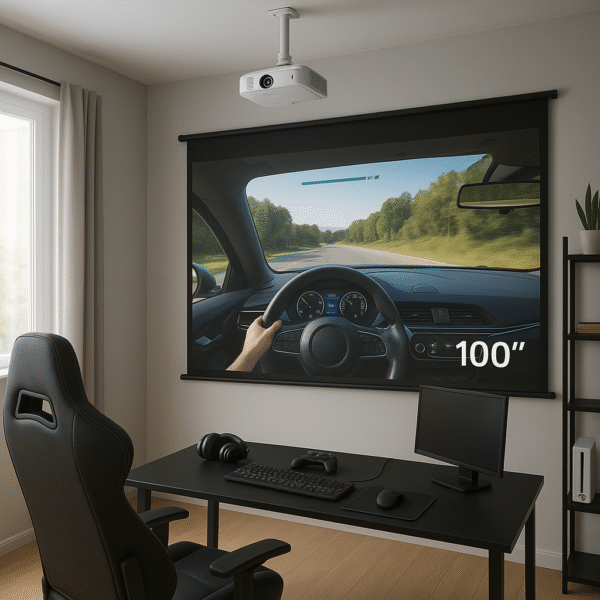
Big-Screen Gaming: Experience 100-inch gameplay without spending thousands on a large TV.
Cost Efficiency: Get excellent performance for under $600, including the projector, screen, and essential sound accessories.
Minimal Space Requirements: Perfect for apartments or compact gaming rooms, giving you cinematic immersion in limited space.
Essential Components for a Budget Gaming Setup
1. Projector – Optoma HD146X or ViewSonic PX701HD
For the foundation of your budget gaming projector setup, start with a reliable 1080p model like the Optoma HD146X or ViewSonic PX701HD. Both projectors offer Full HD native resolution, dedicated Game Modes with 16ms input lag, and high brightness, ensuring clear visuals even in rooms with some ambient light.
2. Projection Surface
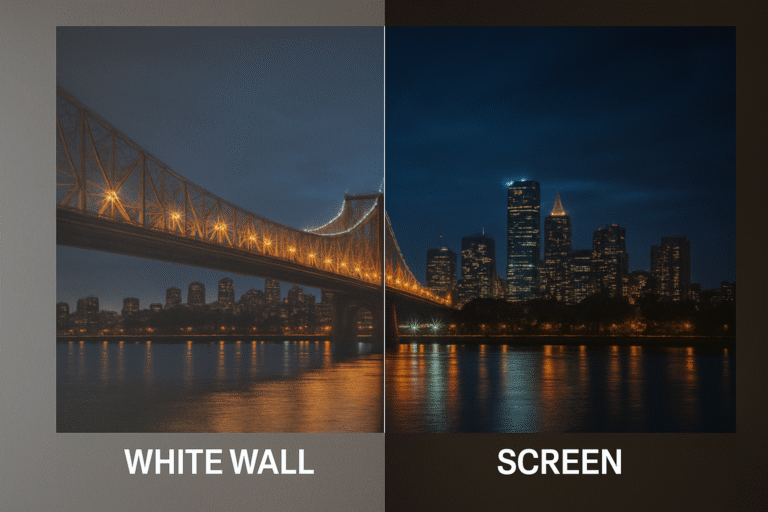
To maximize picture quality, use a matte white projection screen for optimal color balance and brightness. Portable screens from brands like Elite Screens or Silver Ticket are affordable and easy to set up. For an even tighter budget, a flat white wall paired with blackout curtains can work surprisingly well, delivering strong contrast and a cinematic feel in small gaming spaces.
3. Gaming Console
Your budget gaming projector setup should be fully compatible with modern consoles like the PS5, Xbox Series X, and Nintendo Switch. To maintain smooth visuals and low latency, always use an HDMI 2.0 or higher cable for the best signal quality and full 1080p or 4K passthrough support.
4. Sound System
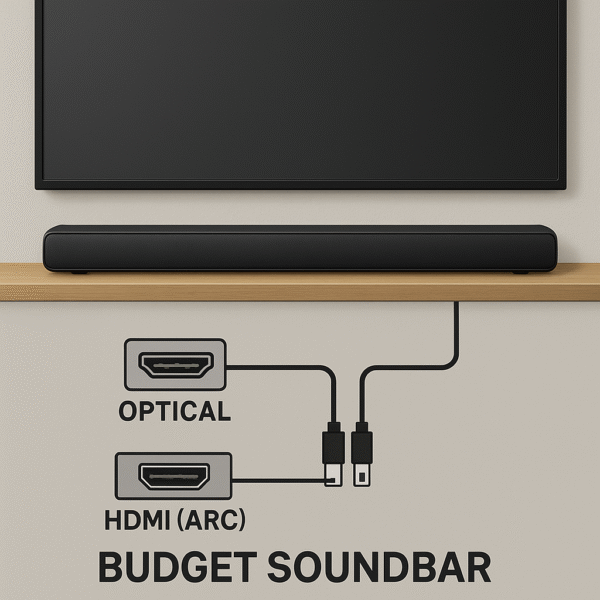
For immersive audio, pair your projector with a budget-friendly soundbar that includes HDMI ARC or Optical input. This setup ensures seamless sound and video synchronization. If space allows, consider a Dolby Atmos–enabled soundbar for 3D surround audio that enhances gameplay realism. Recommended models include the Vizio M-Series M512a-H6 and the TCL Alto 8i, both of which offer strong performance at an affordable price.
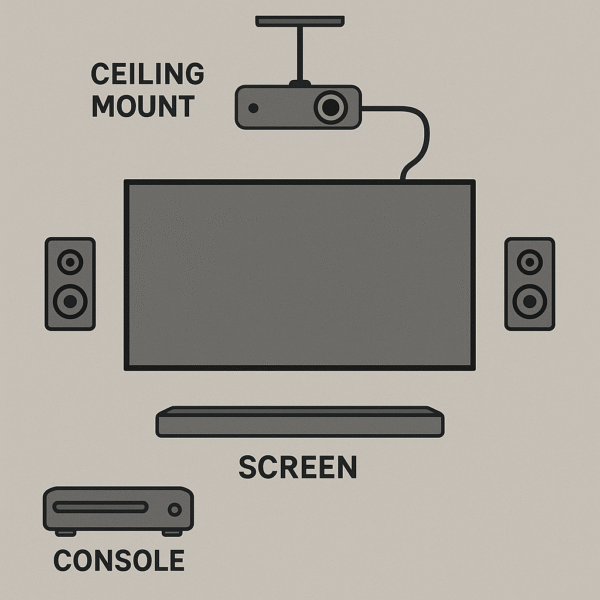
Setup and Placement Tips
Placement Tips for a Budget Gaming Projector Setup
Proper positioning ensures you get the best image quality and long-term reliability from your projector. By planning your layout carefully, you can achieve a clean, efficient setup that performs well in any small gaming room.
Throw Distance: The Optoma HD146X requires about 10–12 feet of distance to project a crisp 100-inch image, so plan your room layout accordingly.
Mounting: Use ceiling brackets to free up floor space and improve cable management, keeping your setup neat and professional.
Ventilation: Always leave open space around the projector to promote airflow and prevent overheating during long gaming sessions.
Performance Optimization Tips for a Budget Gaming Projector Setup
To get the most responsive and fluid experience from your budget gaming projector setup, make a few simple adjustments. These steps can significantly reduce lag and improve overall image consistency during gameplay.
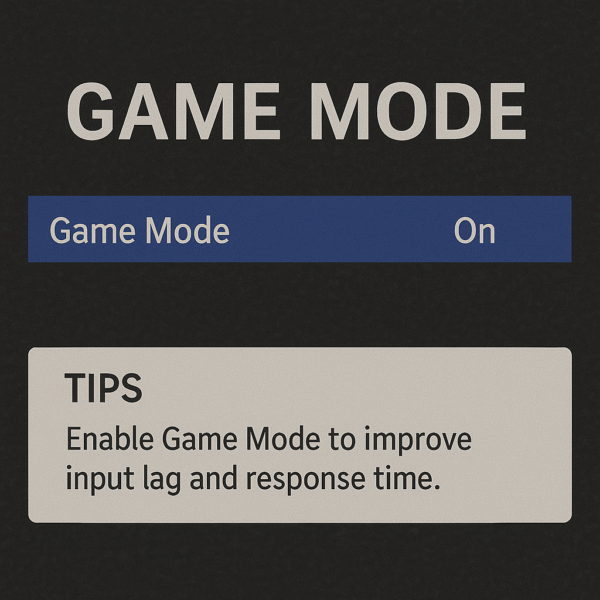
Activate Game Mode: Turn on Game Mode in your projector settings to minimize input latency and achieve faster on-screen response times.
Use Ethernet Connection: If Wi-Fi feels unstable, switch your console to a wired Ethernet connection for smoother online play and reduced lag.
Disable Image Enhancements: Turn off features like motion smoothing or noise reduction, as they can add processing delay and slightly blur fast motion.
Select Proper Picture Preset: Choose either the “Standard” or “Game” picture preset to balance color accuracy and performance for the best gaming visuals.
Accessories to Complete Your Budget Gaming Projector Setup
To keep your budget gaming projector setup organized, versatile, and easy to manage, consider adding a few essential accessories. These simple tools enhance functionality while maintaining a clean and professional look.
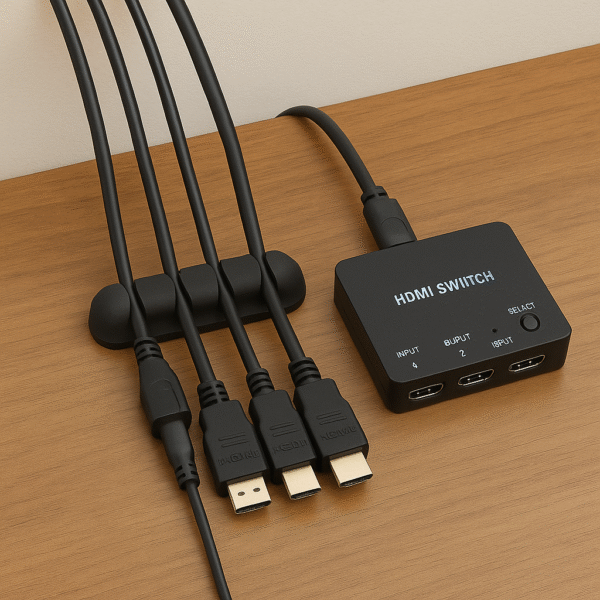
HDMI Switcher: Perfect for multiple consoles, allowing you to connect devices like a PS5, Xbox Series X, and Nintendo Switch to one projector without constantly swapping cables.
Cable Raceway: Use a cable raceway to hide and route wires neatly along walls or ceilings, giving your gaming area a polished finish.
IR Remote Extender: Ideal if your consoles are placed in cabinets or behind furniture, letting you control them easily without direct line of sight.
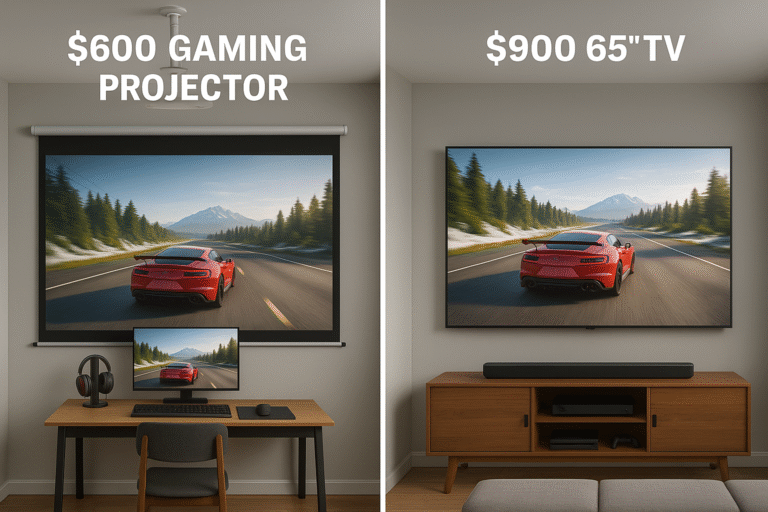
Budget Setup vs TV-Based Setup: Pros & Cons
Here’s a quick comparison showing how a budget gaming projector setup stacks up against a traditional TV-based gaming setup. By reviewing these factors, you can see how projectors deliver more flexibility and screen size for less money.
| Feature | Projector Setup | TV-Based Setup |
|---|---|---|
| Screen Size | 100” or larger for cinematic immersion | 55”–65” on average |
| Cost | Lower for large-screen experiences | Higher for 65”+ models |
| Input Lag | Around 16ms (great for most games) | Typically 5–15ms (faster for competitive play) |
| Portability | High – easy to move or mount | Low – fixed installation |
| Room Adaptability | Excellent for small or flexible spaces | Requires a dedicated stand or wall space |
Overall, a budget gaming projector setup offers the best balance of screen size, value, and flexibility, making it a great choice for gamers in apartments or compact rooms.
Room Enhancement Tips for a Budget Gaming Projector Setup
To elevate the look and feel of your budget gaming projector setup, a few simple room adjustments can make a huge difference. By focusing on light control, acoustics, and ambiance, you’ll create a more immersive and polished gaming space.
Use Blackout Curtains: Block out natural light to enhance contrast and deepen black levels, especially during daytime gaming.
Improve Acoustics: Add a rug or acoustic wall panels to absorb echo and enhance sound clarity from your projector’s audio system or soundbar.
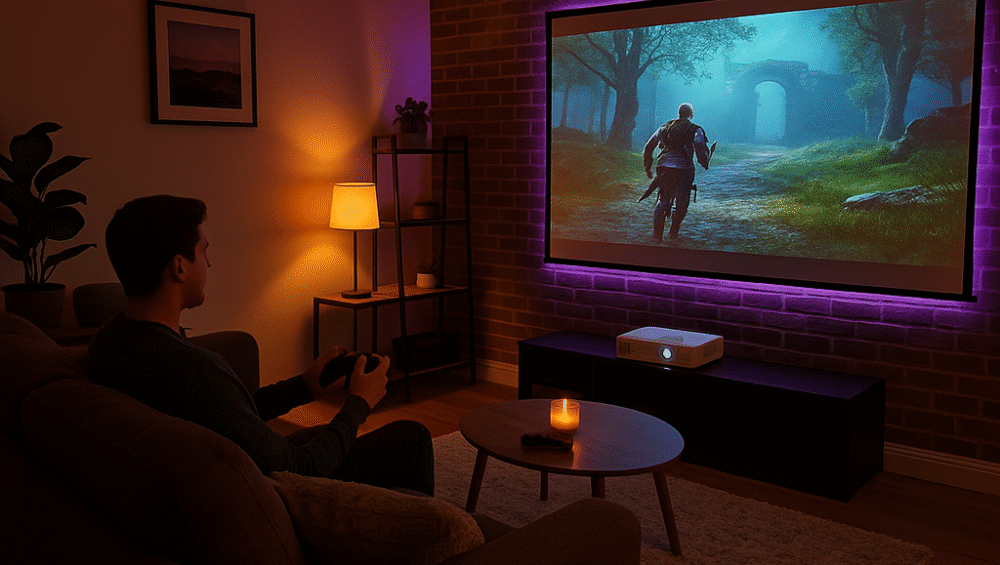
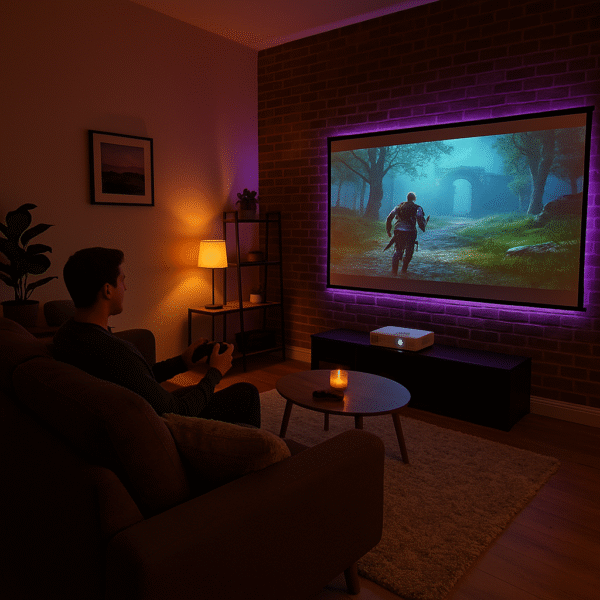
Add Ambient Lighting: Install RGB LED lighting behind your screen or around the room to create an atmospheric glow that complements gameplay and reduces eye strain.
Final Thoughts
A budget gaming projector setup in 2025 delivers impressive performance and immersion without stretching your budget. With models like the Optoma HD146X, you get excellent clarity, low input lag, and strong brightness, making it a standout choice for both casual and competitive players. When paired with an affordable sound system and a quality screen, it can rival the cinematic feel of high-end TVs at a fraction of the cost.
Whether you’re gaming on a console or PC, a budget gaming projector setup offers the perfect mix of flexibility, massive screen size, and immersive atmosphere—helping you transform any small room into a powerful, big-screen gaming zone.